How do I add a Blog post to my website?
Last updated by Sam Brown on December 09, 2014 22:09
- Click the Website button on the left hand menu.
- Click the Page Content tab.
- From the tabs that pop up underneath, click the Blogs tab.


- The Blogs tab allows you to create Blog posts. The list of articles allows you to edit existing Blog posts by clicking the title.
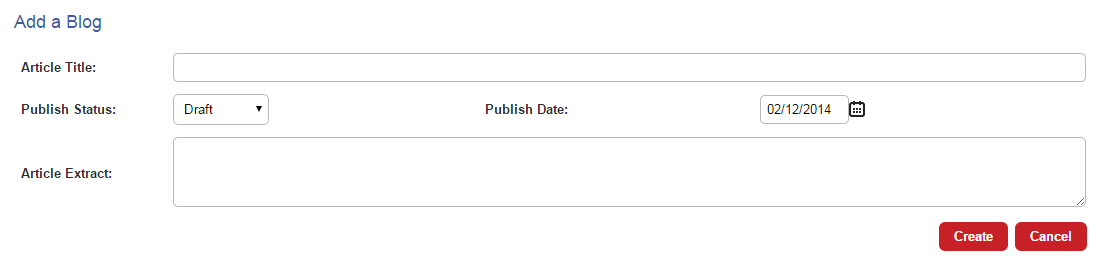
- To add a new blog post, click the red Add New Article button. This takes you to a blank edit page. Every Blog post needs an Article Title.

- You can select if it is a draft or to publish it when you have finished editing from the Publish Status drop down menu. You can select the date that you want to display on the article.
- You can then insert an Article Extract that is a small block of text that describes your Blog post before users click through.
- Now you can go down to the editor which works like a word processor and allows you to input your content, add images and format your text. You can also insert raw HTML by clicking Source.
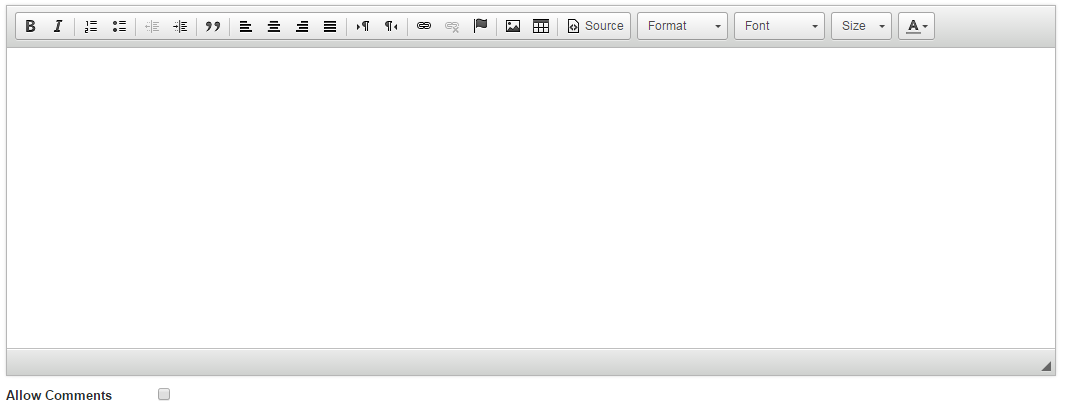
- Allow Comments gives you the option to specify if you would like users to be able to leave comments on this particular Blog post.
- Once you have filled these, click the blue Save link and your Blog post will be saved. If your Publish Status is set to Published, it will appear on your website straight away.
- If you have chosen to Allow Comments on a Blog post, you will need to approve any comments that have been submitted. From the main Blogs tab, click the red Approve Comments button.
- You will see a list of comments and the date they were submitted. You have the choice to Approve a comment and allow it on to the post with the blue button or Delete it with the grey button.