Last updated by Sam Brown on January 30, 2015 22:23
Click the Website button on the left hand menu.
Go to the Menu Structure tab.
Creating a new menu item automatically creates a new page if the item is Selectable and Visible.
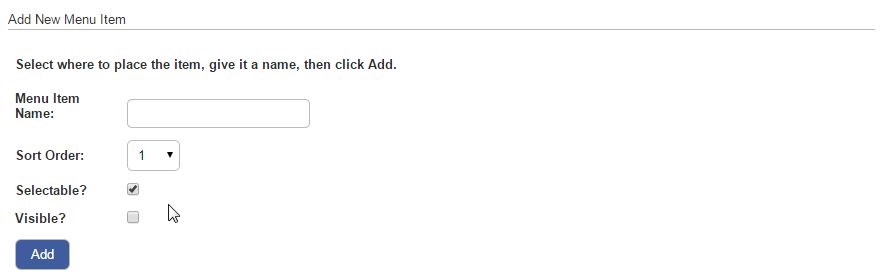
Add New Menu Item
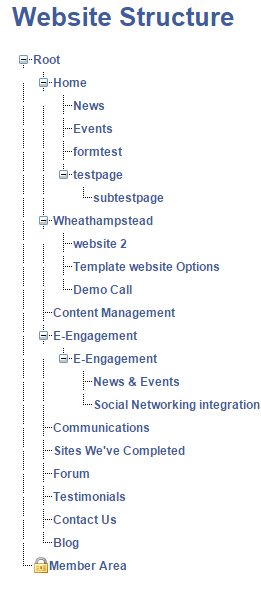
The first thing you need to do is look at the Website Structure on the left which is in a 'tree' structure.
Click the name of the menu item you would like the menu item to appear under.
Clicking Root will mean that you add a new top-level menu item.
Clicking another menu item will place your new menu item in it's 'branch'.
The menu item will be highlighted pink.
Name your menu item in the text box - this is how it will appear on the site.
Sort Order is the order in which the menu item you are creating appears on it's branch. For example, if 'Home' has four items on it's branch, selecting 5 will mean that the new menu item appears last.
The two check boxes underneath define whether your new menu item is Selectable and Visible. Having Selectable ticked means that the menu item you are creating will be 'clickable' and will take you to a page.
This way you can organise your menu into sub-menus that are not 'clickable' but categorize your pages, making it easier for your customers to find the information they need while also making your site look neater.
Visible allows you to choose if you want this menu item to be visible on the site straight away. Unchecked, it will be created but not visible to customers. You can change this later when you are ready for the new menu item to 'go live'.
Click the blue Add button when you are ready to proceed and it will be added!
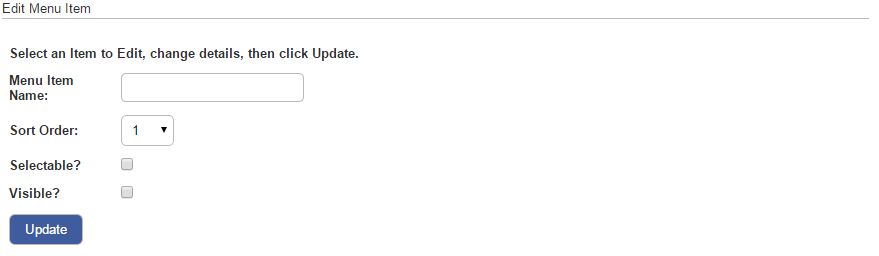
Edit Menu Item
The Edit Menu Item section works in much the same way, the difference being that you select the menu item you wish to change and then have the option to change the Name, Sort Order and Selectable and Visible properties.
Click the blue Update button when you are happy to proceed and the changes will be made.
Delete Menu Item
Simply select the item you wish to delete and click the grey Delete button.