How do I add Points of Interest to a Google Map I have created?
Last updated by Sam Brown on December 09, 2014 22:11
- Click the Website button on the left hand menu.
- Click the Page Content tab.
- From the tabs that pop up underneath, click the Points of Interest tab.


- Points of Interest allows you to have various categories and locations displayed on the Google Maps you have created.
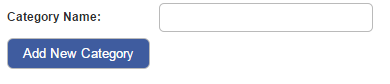
- To create a category, in the Categories section, click the blue + Add New link.

- Insert the category name into the text box that pops up and click the blue Add New Category button.
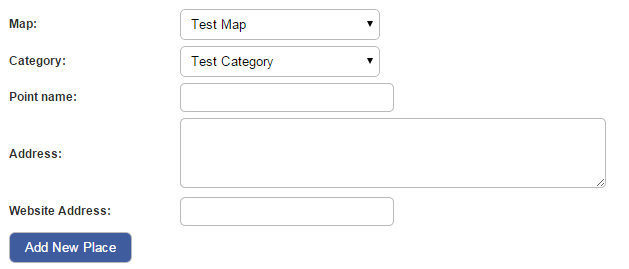
- To create a Point of Interest, in the Points of Interest section, click the blue + Add New link.

- Various options will pop up. Select the map you want the Point of Interest to appear on from the Map drop down menu.
- Select the category you would like this Point of Interest to be in from the Category drop down menu.
- Give this Point of Interest a name in the Point Name text box.
- Enter the address of the Point of Interest in the Address text box.
- Include a web address for the Point of Interest in the Website Address text box.
- When you have filled out the options, click the blue Add New Place button.
- Your point of interest will now appear on the map you have chosen.